Chocolate-Avocado Pudding

chocolate-mousse-2635500_1920-1.jpg

Back in 2012 when I first started teaching baby food cooking classes, a client of mine mentioned that her husband had been making chocolate avocado pudding, and that her baby was gobbling it right up. I put the idea on my imaginary list of recipes that I wanted to recreate, and then—-like every other item on my to-do list that I write in my head but never on paper—I completely forgot about it. Fast forward five years when that baby of hers is ready to graduate kindergarten, and here I am in my kitchen finally checking off this recipe. Do I regret not trying this sooner? Yes, but mostly because recently when I pay for avocados at checkout, I have to do a doubletake (2 for $5--seriously?!) and then you get home, cut it open, and it's all pit. Five years ago, if I can remember correctly, the world was a cheaper place for avocados, and hashtags like #avocadoproblems and #avocadofail and #willworkforavocados (okay fine I made that last one up), were not yet a thing.

But I digress.

In truth, this recipe was a real win for the kids, and I already am thinking ahead to tweaking the recipe for avocado-chocolate fudgsicles this summer (stay tuned!). The avocado creates a perfectly creamy texture and a blank slate that lets the chocolate from cacao powder and semi-sweet chocolate chips really shine through. It comes together in minutes after a whirl in a food processor or blender, and since it's made without refined sugar, it's a treat that I'm happy to serve my kids regularly. Also, unlike every other avocado recipe in the world, this can be made up to 24 hours in advanced and stored in the refrigerator. Because of the chocolate, there's no telling if the avocado turns brown.

Finally, another perk to this recipe is that it's allergy friendly--perfect for friends who are allergic to milk or eggs. But everyone will love it!

CHOCOLATE AVOCADO PUDDING makes 4 servings Ingredients: 2 medium ripe avocados 1/2 cup semi sweet chocolate chips 1/4 cup cacao powder* 1 tsp pure vanilla extract 1/4 cup milk (cows, almond, coconut, or even water) pinch of salt 1/4 cup pure maple syrup Directions: In a microwave safe bowl, melt chocolate chips according to package directions. Cool for a few minutes, then add them to a food processor or blender with the remaining ingredients. Blend until no lumps remain, pausing to scrape down the sides of the bowl. Transfer mousse to a bowl, cover with plastic wrap, and chill for at least 20 minutes (or up to 24 hours before serving.

*I use cacao powder instead of cocoa powder because it is much less processed than cocoa powder and it contains a crazy high amount of fiber, nutrients, antioxidants and magnesium. You can find it in the same location in the grocery store as traditional cocoa powder. Yes, it's more expensive, but we use it sparingly enough that it's worth it for us.

Roasted Beet Hummus

beetroot-936429_1920.jpg

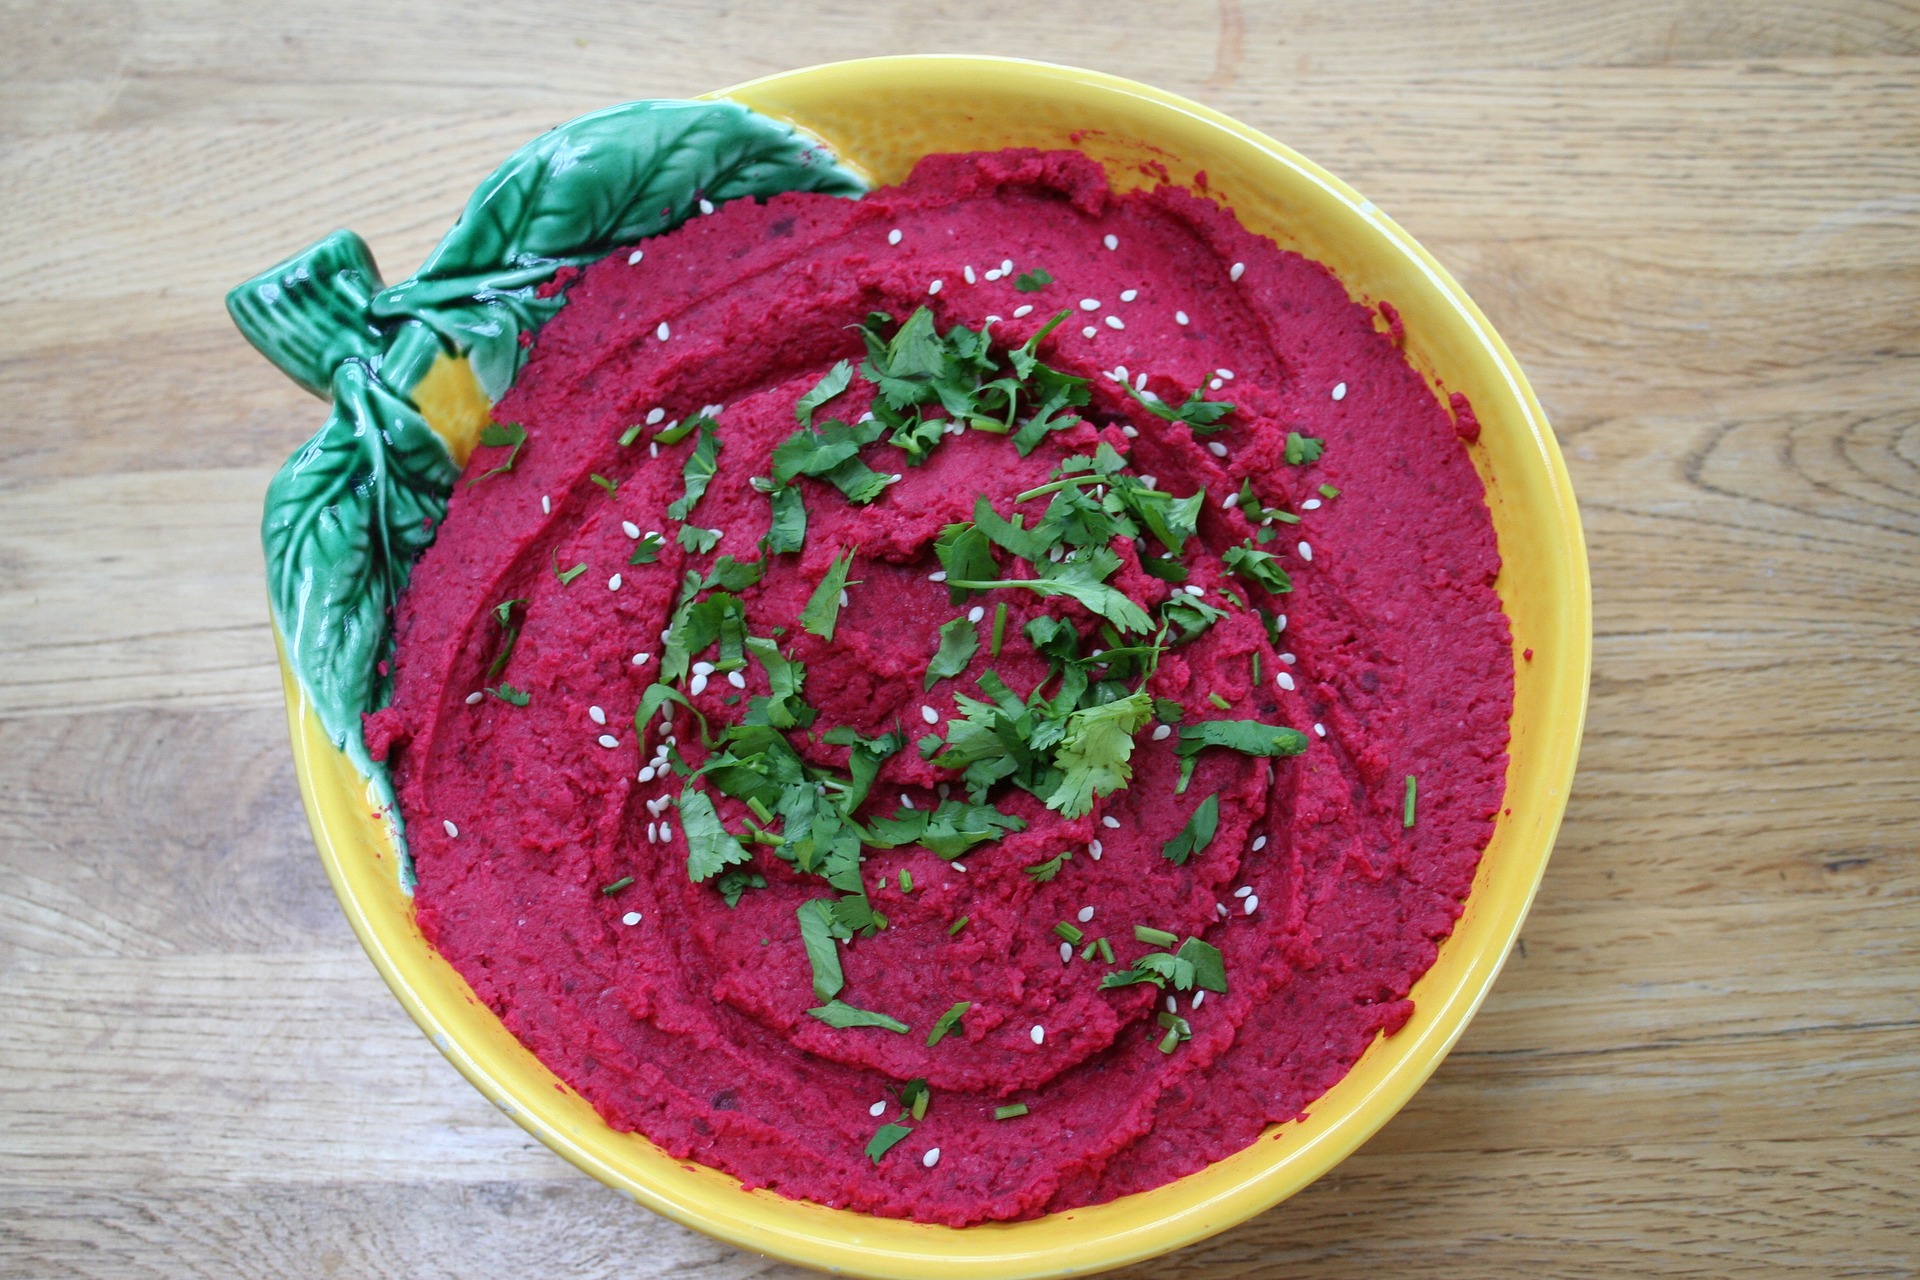
Seriously, does it get more beautiful than this? This recipe, which uses roasted beets in place of traditional chickpeas, makes a show-stopping spread (seriously, what little girl wouldn't love a PURPLE dip?) and is a great use for leftover roasted beets. I love adding this to a crudite platter alongside pita and veggies at a part--it adds a great pop of color

This recipe calls for 1 pound of roasted beets, but if you're starting out with our beet baby food ( Get the recipe here) you'll want to set aside about 1 cup of pureed beets to make this recipe in place of the cooked, roasted beets below. Add the pureed beets and follow the rest of the recipe as is.

Roasted Beet Hummus Ingredients: 1 lb cooked or roasted  beets, quartered  OR 1 1/2 cups beet puree 1/4 cup walnuts, toasted and roughly chopped (optional) 2 tablespoons lemon juice 1/2 tablespoon tahini 1/2 teaspoon ground cumin 1 garlic clove 1 tablespoon olive oil 1/2 teaspoon salt Directions: Place all the ingredients in a food processor and blend until smooth, stopping occasionally to scrape down the sides. Taste throughout and adjust the balance as you see fit. Serve immediately or refrigerate, covered, for up to 3 days. Garnish with sesame seeds and cilantro, if desired.

10 ideas for leftover baby food purees

baby-food.jpg

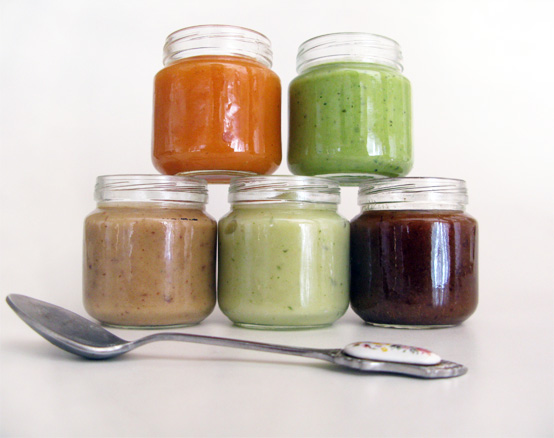
It seems to happen overnight: Your baby who once devoured baby food purees decides she only wants finger foods. Once babies begin to use their pinchers, they become more interested in perfecting picking up food from their trays, rather than being spoon fed by you. The good news is that you now have two free hands during mealtime (take this as your cue to eat!). But don't toss your freezer stash of pears, peas, and parsnips!

Whether your baby is moving on to the finger food stage or is ready for more than just single-ingredient fruit and veggies, these 10 puree-based food ideas (for baby AND you!) can help your baby transition to the next stage AND ensure your leftover stash doesn't go to waste.

  1. Stir fruit and veggie purees into plain whole milk yogurt, cottage cheese, and oatmeal. It's a delicious way to naturally sweeten without adding sugar. How's that for getting in a veggie at breakfast?
  2. Add veggie purees into sauces and pestos. Bump up the nutrition and flavor of your traditional pasta toppings! Winter and summer squash, sweet potato, pumpkin and bell pepper make great additions to tomato sauce. Green purees like peas, zucchini, kale, and spinach all get disguised when stirred into pesto.
  3.  Mix veggie purees into meatballs and meatloaf. Go for up to four ounces of puree per pound of meat to boost nutrients AND add moisture. No dry balls for your baby!
  4. Dump veggie purees into soups or stews.
  5. Use them as  teethers. Frozen cubes feel good on baby's gums. Add puree cubes to a mesh teether, like these Fresh Food Feeder, 2 Pack, Blue/Green.
  6. Blend them into a smoothie. Mix fruits and veggie cubes with ice, plain yogurt, and a bit of juice or coconut water for a refreshing and healthy breakfast or snack.
  7. Make 'em into a protein-rich dip. In a food processor, combine 1 can of white beans, 1 garlic clove, 2 ounces of veggie puree, and herbs of choice. Bean dips stick well to spoons, so if baby is learn to self feed, this is less messy than drippy foods.
  8. Toss a cube of fruit puree into a glass of champagne. Just so there's no confusion, this is for you, not baby.
  9. Stir fruit and veggie purees into pancake or waffle mix or mix into a muffin recipe.  Way healthier baking!
  10. Spread leftover fruit puree on crackers or as a jelly replacement on sandwiches. Three cheers for no added sugar!


How do you use leftover baby food? Tell us your ideas!

6 Things You Might Not Know About Jarred Baby Food

puree-buffet.jpg

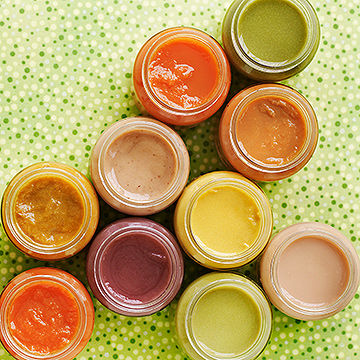
One of the most common questions I get asked about baby food is this: “Why should I make my own? Isn’t jarred food the same thing?” The truth is that while the ingredients might read the same as what you’d use to make at home (like carrots and water, for example), there are many major differences that aren’t always so noticeable. These five truths about jarred baby food are truly shocking.

  1. The baby food you’ve purchased may have been sitting on the shelf since before you were even pregnant. The expiration date of jarred baby food is often years away, and to enable that shelf life, jarred baby food is cooked at extremely high temperatures—a process that removes many of the nutrients.
  1. Jarred baby food doesn’t actually taste like what it claims to be. Do this test at home: Remove the label from the jar, and do a taste test to guess what vegetable or fruit you’re eating. Tough, right? That’s because the high temperature processing affects the flavor and texture of the food, making it difficult to differentiate the food by taste alone. As a parent whose goal is to get my kids to eat a diet full of fruits and veggies, giving them a taste of what fruits and veggies really taste like is crucial to start them off on the right track.
  1. Additives are often present. You’ll often see ascorbic or citric acid on the ingredient list of organic and conventional baby foods. When the jars are heated to high temperatures to preserve shelf life, it results in a loss of vitamins and nutrients in the food. To combat this, baby food companies add in artificial forms of vitamin C that come in the names of ascorbic or citric acid so the jars aren’t totally devoid of the nutrients they’re supposed to naturally contain.
  2. BPA is used in many brands to coat the lids of jarred baby food. Metal lids can contain Bisphenol A, which is especially dangerous to infants whose immune systems are weaker and less able to rid the body of toxins. A study published in Environmental Health Perspectives found that widespread exposure to BPA may result in levels of up to 11 times higher in infants than in adults.
  3. They’re sneaky about sugar. Just because an ingredient label doesn’t read “sugar” doesn’t mean it’s not there. Look for sneaky sources of sugar including any sort of “juice concentrate” which are often added to sweeten up mixed fruit and veggie pouches and jars—even ones labeled as “natural”. Other sneaky sugar sources to seek out: fructose, malt extract, any type of syrup, or any ingredient ending in “ose” like fructose.
  4. They're swimming in pesticides. A recent study of jarred baby food found that one measly jar of peaches contained 22 varieties of pesticides! Apples, pears, and green beans also contained more pesticides per jar than would legally be allowed on the shelves of European grocery stores. (American companies aren’t required to follow strict regulations.)

The bottom line is that when you buy food from a store shelf, it’s impossible to know everything that goes into it, and making your own baby food (and using organic fruits and veggies when available), is THE BEST WAY TO know exactly what’s going into your baby’s belly.