blog-posts.jpg

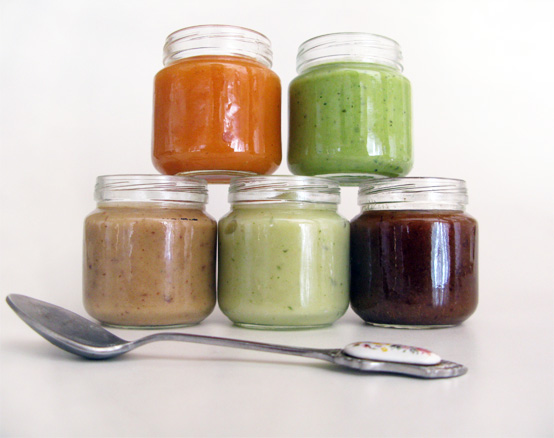
Beet baby food puree

beet-baby-food.jpg

Ages: 8 months+ Technique: Roasting. Check out our cooking guide to learn which other vegetables require this method of cooking.

Turn it into: ROASTED BEET HUMMUS!  Get our recipe for beet hummus here.

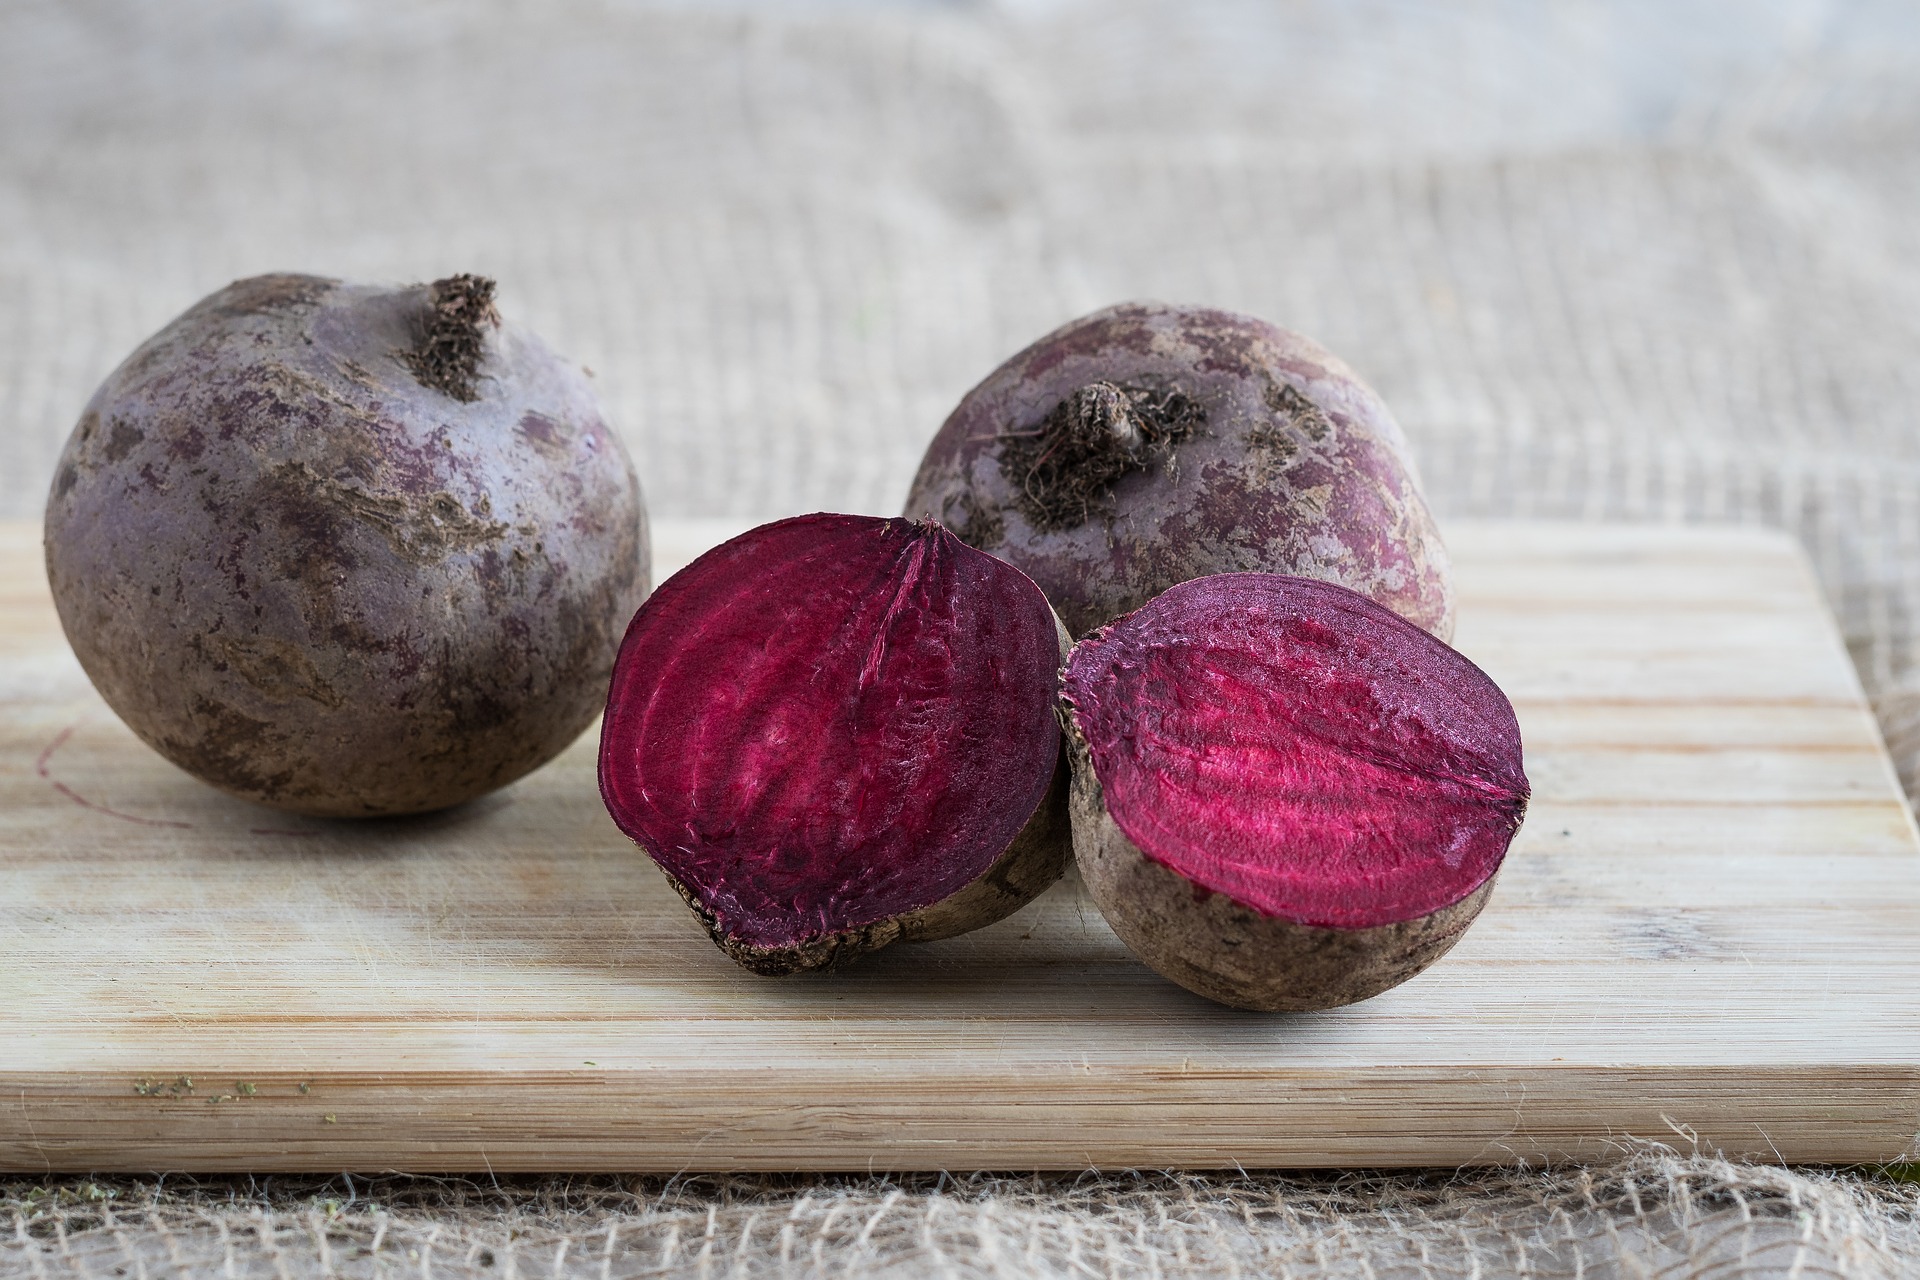
If you're brave enough to handle the cleanup (hint: feed them this before bath time) and are cool with purple poop (yep, beets will discolor their urine and stool), beets are a delicious and healthy food for baby! Learn more about beets here.


ROASTED BEET PUREE makes 10 ounces Directions: Preheat oven to 375 degrees. Wash your hands well with soap and water. Slice off the beet leaves, leaving nothing but the bulbs. Rinse three medium beets under running water and pat dry. Coat beets lightly with oil. Wrap beets in aluminum foil, place on a baking sheet, and roast in the oven until cooked through, approximately 45 minutes. You will know they are done if the beet is easily pierced with a fork. Let cool, then unwrap from the foil, and use your fingers or a vegetable peeler to peel off the beet skin. Chop beets into quarters. Add beets to a food processor and puree until completely smooth, pausing to scrape down the sides of the bowl as needed. You may need to add water, 1 tablespoon at a time, until beets reach a smooth thick consistency.

Storage instructions: Store beet puree in the refrigerator for a maximum of three days or freeze in individual servings for up to three months. Do not refreeze defrosted food.

Peach Baby Food Puree

nectarine-1074997_1920.jpg

Ages: 6 months+ Technique: Blanching. Check out cooking guide to learn which other fruits require this method of cooking.

Turn it into: A champagne floater for your next moms brunch. Add 1 tablespoon of peach puree to each glass of champagne.

Peaches make a delicious and healthy first food for babies and can be introduced when your doctor gives you the okay to start solids. Fresh ripe peaches that have been peeled and cubed also make a good finger food for toddlers or for baby led weaning.

Nutrition profile: Peaches contain vitamins A and C, and are rich in many vital minerals such as potassium, fluoride, and iron. They also contain the antioxidant lutein, zeaxanthin, and ß-cryptoxanthin that protect the body from free radicals. Get more info on how to buy and store peaches by clicking here. .

PEACH PUREE makes 6-8 ounces Directions: Wash your hands well with soap and water. Rinse two medium ripe organic peaches under running water. Place peaches on a cutting board and use a paring knife to slice an X through the base of each peach. Meanwhile, bring water to a rolling boil in a medium saucepan. Use a slotted spoon to add the whole peaches to the water and boil for 2 minutes. Carefully remove peaches using a slotted spoon, and transfer peaches to a bowl filled with ice water. Let cool for two minutes in the ice bath, then use your fingers or a paring knife to peel off the skin, using the X as a starting point. Discard the skin. Slice peaches using a paring knife and working your way around the pit. Discard the pit, and place the cut fruit in a food processor. Puree until completely smooth.

Storage instructions: Store peach puree in the refrigerator for a maximum of three days or freeze in individual servings for up to three months. Do not refreeze defrosted food.

Peas Baby Food Puree

peas-2686_1920.jpg

Peas baby food puree

Ages: 6 months+

Technique: Boiling. Check out our cooking guide to learn which other vegetables require this method of cooking.

Turn it into: Pea and Mint Guacamole GET THE RECIPE HERE

It's no secret that peas are our favorite vegetable (it's part of our name for peas-sake!). One of the only vegetables that's high in protein, pea puree makes a great first food for babies and plain old defrosted peas make a great finger food for toddlers (and a way healthier alternative to processed finger foods). Read more about our love for peas HERE. 


PEA puree

Makes approximately 20 ounces

Ingredients

1 10-ounce bag of frozen peas

1/2  cup water

Directions:

Pour water into a saucepan and bring to a boil. Add peas to the saucepan and boil for two minutes.

Using a slotted spoon, carefully transfer peas to a food processor, adding cooking liquid a little at a time until peas are smooth.

Store in the refrigerator for up to three days or freeze purees in individual serving containers and freeze, covered, for up to three months. Do not refreeze defrosted food


Storage instructions: Store pea puree in the refrigerator for a maximum of three days or freeze in individual servings for up to three months. Do not refreeze defrosted food.

Butternut Squash Baby Food Puree

butternut-74196_640.jpg

Ages: 6 months+ Technique: Roasting. Check out our cooking guide to learn which other vegetables require this method of cooking.

Turn it into: Butternut squash soup  GET THE RECIPE FOR BUTTERNUT SQUASH SOUP HERE OR Pasta with butternut squash sauce GET THE RECIPE FOR PASTA WITH BUTTERNUT SQUASH SAUCE HERE


With its sweet taste and easy-to-digest profile, squash makes an ideal first food for your baby.  The vegetable is also an excellent source of vitamin C, a nutrient that strengthens the immune system and protects the body against infections.


BUTTERNUT SQUASH puree

Makes approximately 24 ounces

Ingredients:

1 medium butternut squash

water

Directions:

Preheat the oven to 375 degrees. Line a baking sheet with parchment paper, then fill the baking sheet with water until the water fills 1/4 up the sides of the sheet.

Use a large sharp knife to halve the squash lengthwise, then use a spoon to remove the seeds. Place squash halves face down in a baking pan.

Bake for approximately 40 minutes to 1 hour. Skin should be puckery and/or wrinkled and squash should feel soft when pressed. Scrape out the squash and then puree to creamy consistency. Add water if needed.

Storage instructions: Store squash puree in the refrigerator for a maximum of three days or freeze in individual servings for up to three months. Do not refreeze defrosted food.

10 ideas for leftover baby food purees

baby-food.jpg

It seems to happen overnight: Your baby who once devoured baby food purees decides she only wants finger foods. Once babies begin to use their pinchers, they become more interested in perfecting picking up food from their trays, rather than being spoon fed by you. The good news is that you now have two free hands during mealtime (take this as your cue to eat!). But don't toss your freezer stash of pears, peas, and parsnips!

Whether your baby is moving on to the finger food stage or is ready for more than just single-ingredient fruit and veggies, these 10 puree-based food ideas (for baby AND you!) can help your baby transition to the next stage AND ensure your leftover stash doesn't go to waste.

  1. Stir fruit and veggie purees into plain whole milk yogurt, cottage cheese, and oatmeal. It's a delicious way to naturally sweeten without adding sugar. How's that for getting in a veggie at breakfast?
  2. Add veggie purees into sauces and pestos. Bump up the nutrition and flavor of your traditional pasta toppings! Winter and summer squash, sweet potato, pumpkin and bell pepper make great additions to tomato sauce. Green purees like peas, zucchini, kale, and spinach all get disguised when stirred into pesto.
  3.  Mix veggie purees into meatballs and meatloaf. Go for up to four ounces of puree per pound of meat to boost nutrients AND add moisture. No dry balls for your baby!
  4. Dump veggie purees into soups or stews.
  5. Use them as  teethers. Frozen cubes feel good on baby's gums. Add puree cubes to a mesh teether, like these Fresh Food Feeder, 2 Pack, Blue/Green.
  6. Blend them into a smoothie. Mix fruits and veggie cubes with ice, plain yogurt, and a bit of juice or coconut water for a refreshing and healthy breakfast or snack.
  7. Make 'em into a protein-rich dip. In a food processor, combine 1 can of white beans, 1 garlic clove, 2 ounces of veggie puree, and herbs of choice. Bean dips stick well to spoons, so if baby is learn to self feed, this is less messy than drippy foods.
  8. Toss a cube of fruit puree into a glass of champagne. Just so there's no confusion, this is for you, not baby.
  9. Stir fruit and veggie purees into pancake or waffle mix or mix into a muffin recipe.  Way healthier baking!
  10. Spread leftover fruit puree on crackers or as a jelly replacement on sandwiches. Three cheers for no added sugar!


How do you use leftover baby food? Tell us your ideas!

6 Things You Might Not Know About Jarred Baby Food

puree-buffet.jpg

One of the most common questions I get asked about baby food is this: “Why should I make my own? Isn’t jarred food the same thing?” The truth is that while the ingredients might read the same as what you’d use to make at home (like carrots and water, for example), there are many major differences that aren’t always so noticeable. These five truths about jarred baby food are truly shocking.

  1. The baby food you’ve purchased may have been sitting on the shelf since before you were even pregnant. The expiration date of jarred baby food is often years away, and to enable that shelf life, jarred baby food is cooked at extremely high temperatures—a process that removes many of the nutrients.
  1. Jarred baby food doesn’t actually taste like what it claims to be. Do this test at home: Remove the label from the jar, and do a taste test to guess what vegetable or fruit you’re eating. Tough, right? That’s because the high temperature processing affects the flavor and texture of the food, making it difficult to differentiate the food by taste alone. As a parent whose goal is to get my kids to eat a diet full of fruits and veggies, giving them a taste of what fruits and veggies really taste like is crucial to start them off on the right track.
  1. Additives are often present. You’ll often see ascorbic or citric acid on the ingredient list of organic and conventional baby foods. When the jars are heated to high temperatures to preserve shelf life, it results in a loss of vitamins and nutrients in the food. To combat this, baby food companies add in artificial forms of vitamin C that come in the names of ascorbic or citric acid so the jars aren’t totally devoid of the nutrients they’re supposed to naturally contain.
  2. BPA is used in many brands to coat the lids of jarred baby food. Metal lids can contain Bisphenol A, which is especially dangerous to infants whose immune systems are weaker and less able to rid the body of toxins. A study published in Environmental Health Perspectives found that widespread exposure to BPA may result in levels of up to 11 times higher in infants than in adults.
  3. They’re sneaky about sugar. Just because an ingredient label doesn’t read “sugar” doesn’t mean it’s not there. Look for sneaky sources of sugar including any sort of “juice concentrate” which are often added to sweeten up mixed fruit and veggie pouches and jars—even ones labeled as “natural”. Other sneaky sugar sources to seek out: fructose, malt extract, any type of syrup, or any ingredient ending in “ose” like fructose.
  4. They're swimming in pesticides. A recent study of jarred baby food found that one measly jar of peaches contained 22 varieties of pesticides! Apples, pears, and green beans also contained more pesticides per jar than would legally be allowed on the shelves of European grocery stores. (American companies aren’t required to follow strict regulations.)

The bottom line is that when you buy food from a store shelf, it’s impossible to know everything that goes into it, and making your own baby food (and using organic fruits and veggies when available), is THE BEST WAY TO know exactly what’s going into your baby’s belly.